
|
"The lesson will be taught in due time, Aloy. Until then, we wait." This article contains heavy spoilers. Read ahead with caution.
|
- "It crawls like a spider, and carries a container on its back. I wonder what's inside?"
- ―Aloy, upon sighting a Shell-Walker
The Shell-Walker, also formatted as Shellwalker, is a recurring Transport Class machine in the Horizon series, first appearing in Horizon Zero Dawn, and returning in The Frozen Wilds, Horizon Forbidden West, Horizon Call of the Mountain and Horizon Hunters Gathering.
History
Development
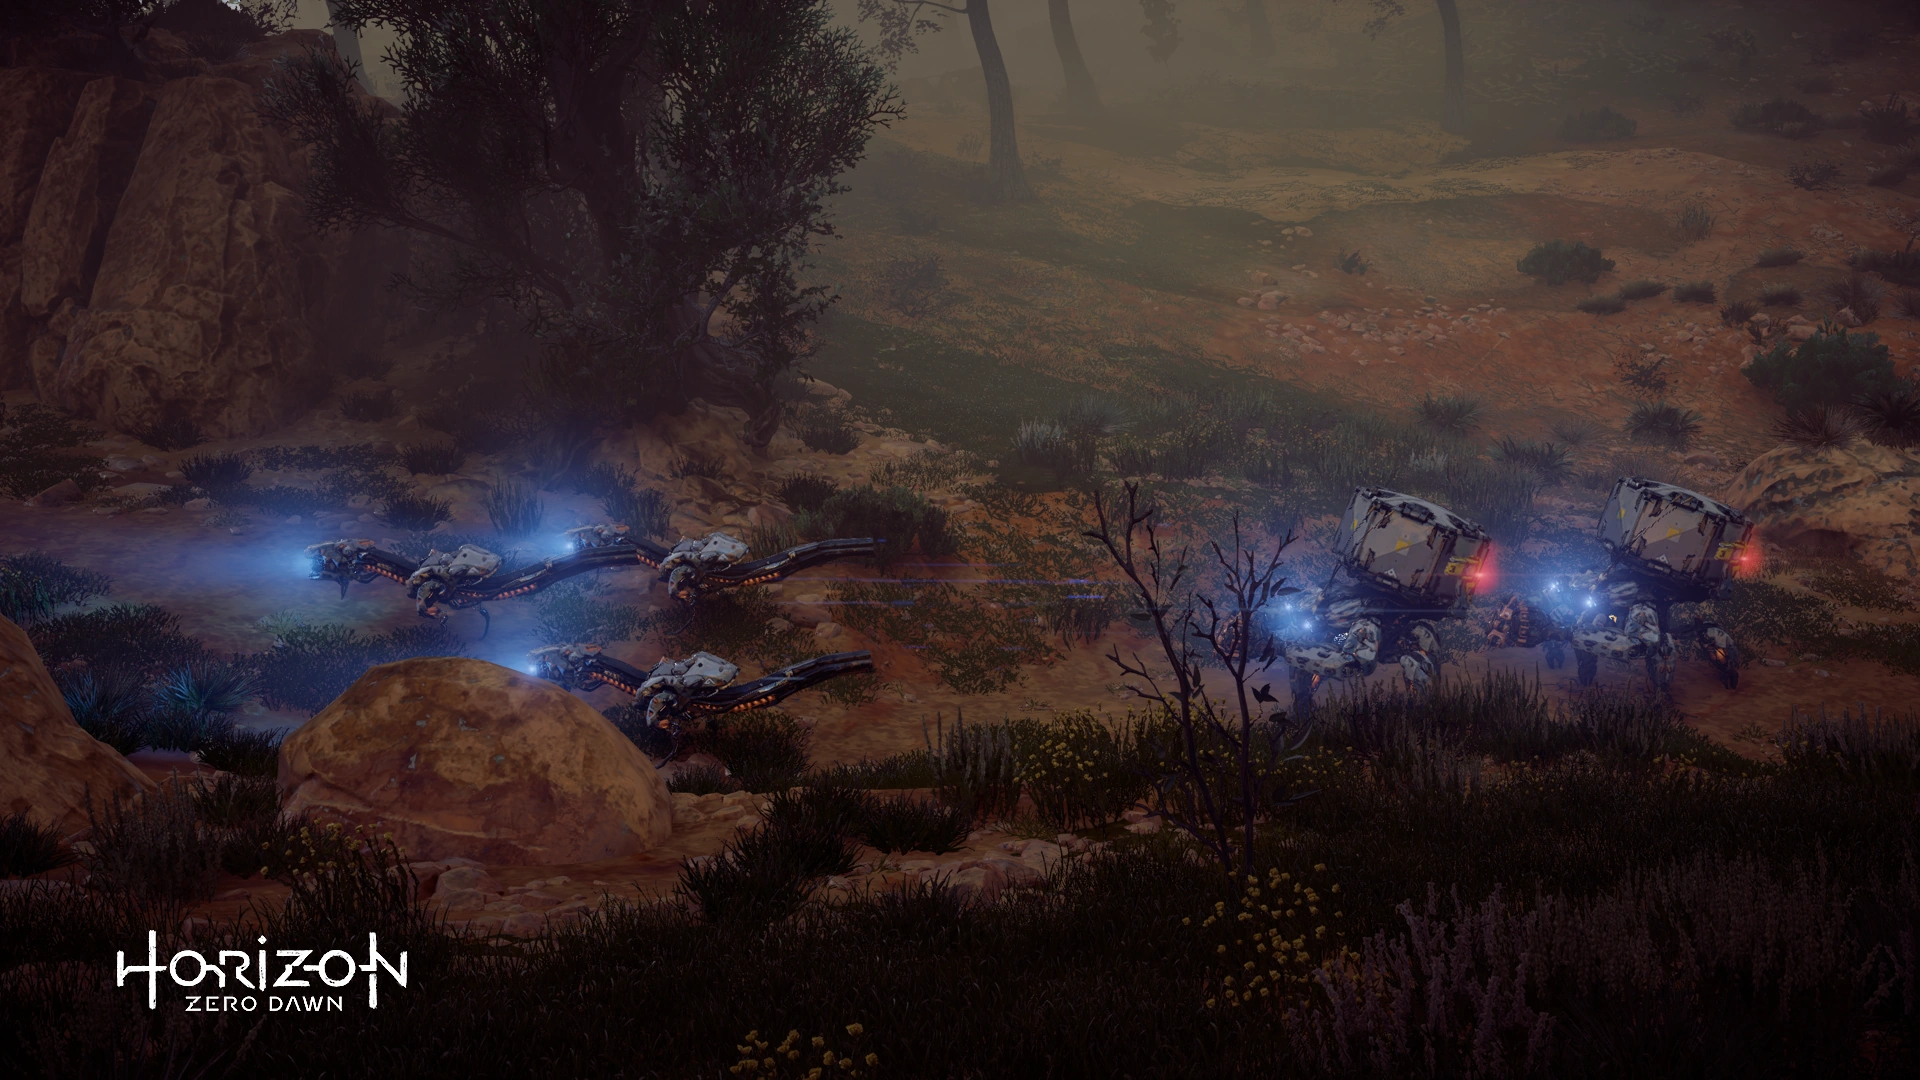
An envoy of two Shell-Walkers and three Watchers.
While it's unknown when Shell-Walkers were first released, they became commonplace in the Sacred Lands, the Valleymeet, the Sundom, the Cut, the Clan Lands, and the western Burning Shores.
Horizon Zero Dawn
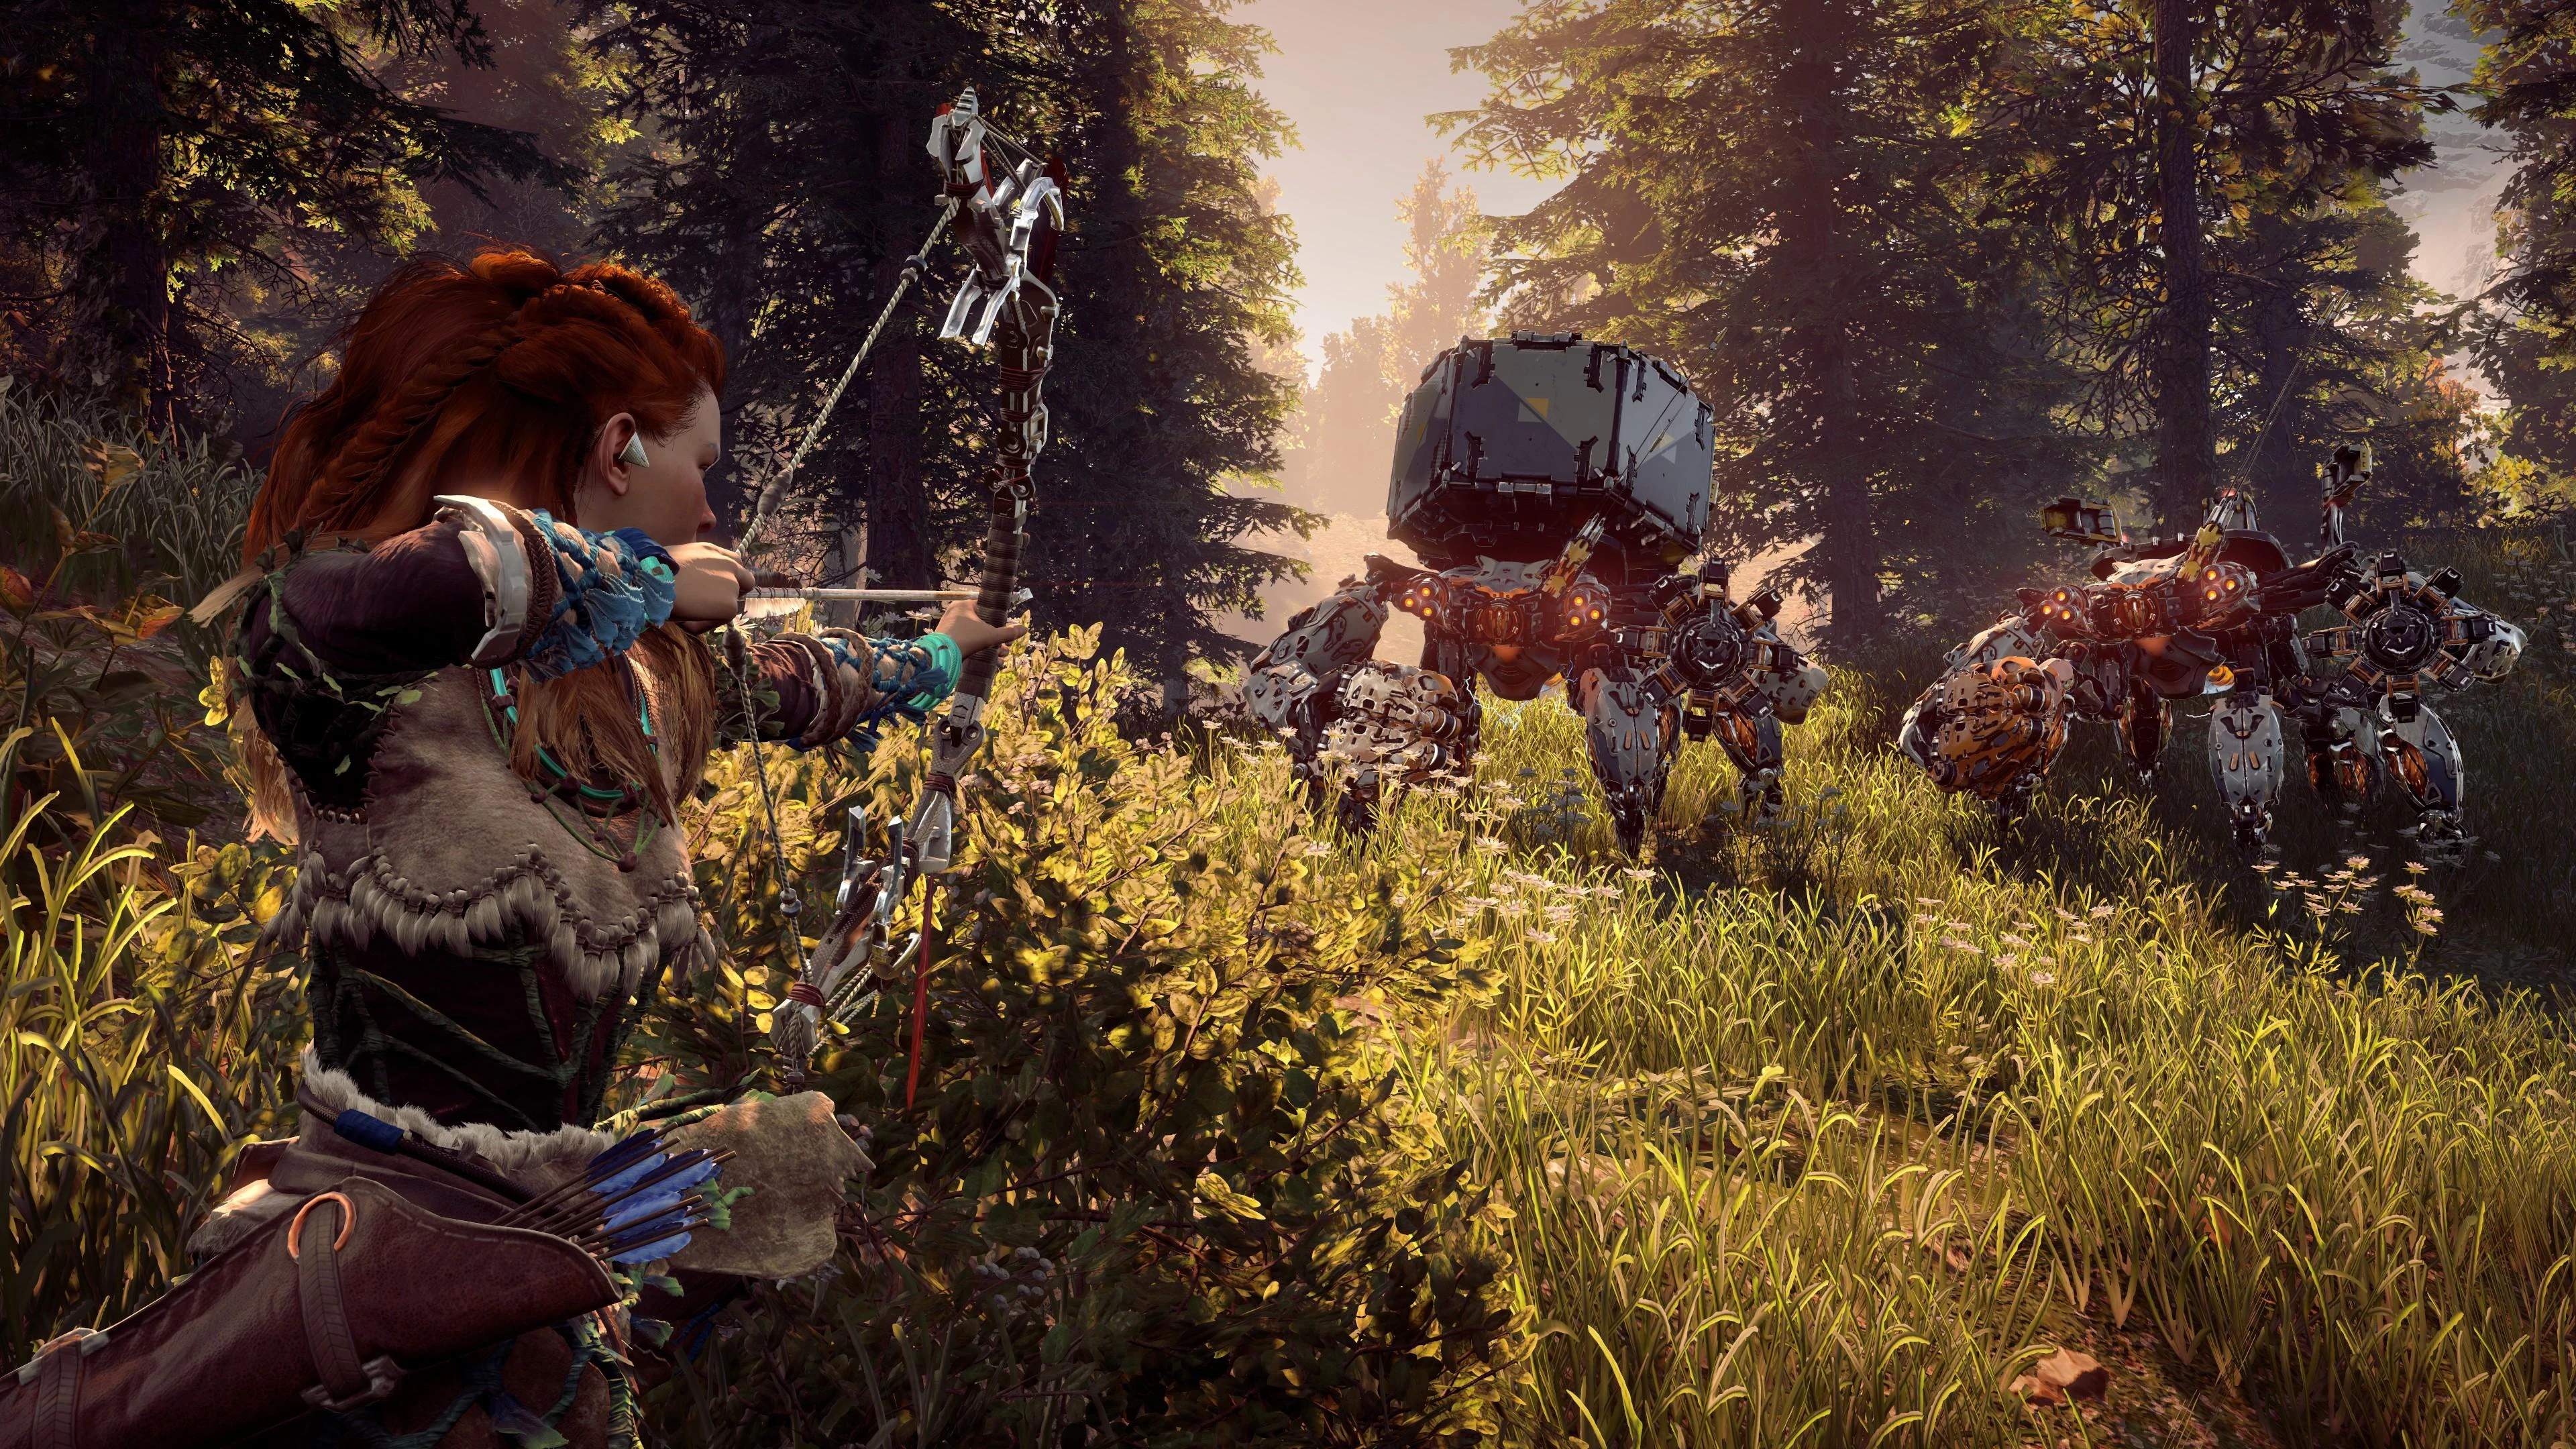
Aloy hunting some Shell-Walkers.
Aloy encountered Shell-Walkers while infiltrating Cauldron SIGMA.[1]
When Aloy infiltrated Cauldron RHO and overrode its core, she gained access to the information needed to override Shell-Walkers.[2]
The Spurflints Hunting Grounds use Shell-Walkers in their trials, with one trial known as the 'Sleight of Crate Trial' requiring hunters to loot four Shell-Walker Crates.[3]
Horizon Zero Dawn: The Frozen Wilds
Daemonic Shell-Walkers were among the machines Aloy, Aratak and Ourea destroyed during their expedition through Cauldron EPSILON.[4]
Sometime between Horizon Zero Dawn and Horizon Forbidden West
While the circumstances of how are unknown, Aloy somehow lost the ability to override Shell-Walkers, as well as most other machines.
Horizon Forbidden West
Wanting to use materials from a Shell-Walker to build a set of armor, Larend hired Aloy with a contract to hunt a Shell-Walker, which Aloy successfully did.[5]
Aloy encountered Shell-Walkers while infiltrating Cauldrons MU,[6] IOTA[7] and KAPPA.[8]
Ikkotah invited Aloy on a machine hunt in the Stand of the Sentinels, with Shell-Walkers being one of the machines they hunted.[9]
When Aloy infiltrated Cauldron CHI and overrode its core, she regained access to the information needed to override Shell-Walkers.[10]
Aloy and Kotallo encountered some Shell-Walkers and Scrappers salvaging the dead Specters outside the Ninmah Research Lab, which they either destroyed or snuck past.[11]
Appearance
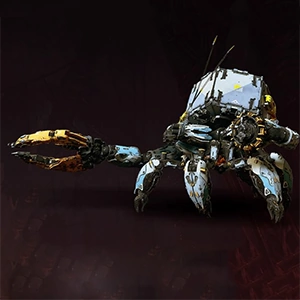
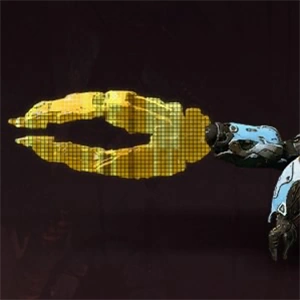
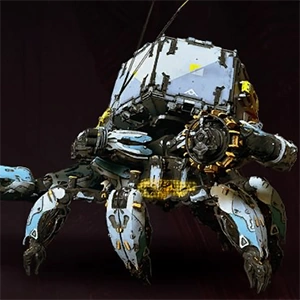
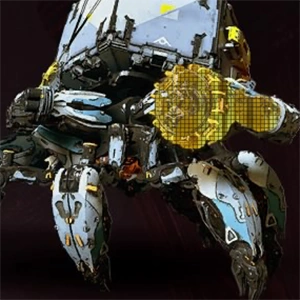
A Shell-Walker’s chassis is a hermit crab-like in appearance. It has six stout crab-like legs connected radially to a body primarily composed of a platform upon which it carries a hexagonal cargo container. On the underside of the platform is a power generator. The container is presumably fastened to the platform electromagnetically, and further held in place via structures known as Crate Holders. The head is laterally wide, with a triangular optical sensor array located at each end. Additionally, a Shell-Walker has a pair of limbs that are akin to the chelipeds of a crab. An energy shield generator is on the end on the left limb, and a weapon that fires projectiles of electrical energy, dubbed a Lighting Gun, is at the end of the right limb. A projection carrying a pair of long antennae protrudes vertically from the left side of the head.
Behavior
Shell-Walkers may be found in groups of a few units at various sites in tribal lands. They mill about, communicating via electronic warbles. They also walk in machine convoys accompanied by Watchers or Longlegs, carrying their cargo to cauldrons. A Shell-Walker’s highest priority is the defense of its cargo. Indeed, the Spurflints Hunting Grounds Keeper advised the Nora huntress Aloy that “Shell-Walkers will defend their cargo with their lives”. If its Crate Holders are destroyed, a Shell-Walker will used its Lightning Gun (if intact) to hold its cargo container in place.
Shell-Walkers attack humans on sight. Upon identifying a human, a Shell-Walker will emit a loud, angry metallic warble, alerting other nearby Shell-Walkers or other machines, raise its energy shield and let fly at the human with shots from its lightning gun. If the human is at close range, it will resort to melee attacks. Shell-Walkers usually walk in a slow, precise manner. However when attacking, they ambulate with surprising speed. When engaging a perceived threat, a Shell-Walker ambulates in a manner that always keeps it facing the threat, allowing its energy shield to be most effective.
Horizon Zero Dawn Convoys
While Shell-Walkers are found in multiple regions, 4 Shell-Walker convoys are in the Carja Sundom, while 1 is in Valleymeet:
- Convoy 1: 3 Shell-Walkers, 2 Watchers Convoy: path is in the Gatelands on the road from Greatrun Hunting Grounds, past Cauldron RHO, and ends southeast of Tallneck: Copper Deeps.
- Convoy 2: 1 Shell-Walker, 2 Watchers convoy: path starts south of the Copper Deeps Tallneck and ends near the Longleg site north of the Spurflints Hunting Grounds.
- Convoy 3: 1 Shell-Walker, 3 Watchers convoy: path is solely in Sun Furrows, around the Sun Furrows Hunting Grounds.
- Convoy 4: 2 Shell-Walkers, 1 Longleg convoy: path starts at Unflinching Watch; goes past the Rockwreath, Cut-Cliffs, and Day's Height; ends near the Longleg site north of Spurflints Hunting Grounds.
- Convoy 5: 1 Shell-Walker, 2 Watchers convoy: path runs from south of Cauldron SIGMA, goes west and ends at an intersection north of the Valleymeet Hunting Grounds.
Abilities
A Shell-Walker’s shield generator produces a visible forward-facing energy shield that is impenetrable to projectiles, such as arrows. A Shell-Walker also employs a number of offensive ranged electric attacks, a defensive radial electric attack, and melee smashing attacks. utilizing its shield, lightning gun and shield generator as bludgeons.
Weaknesses
A Shell-walker may be deprived of its energy shield by destroying the generator. Strikes with explosive ammunition such as Blast Bombs or high-damage arrows such as Precision Arrows will destroy the generator. A single strike with a Tearblast Arrow or the Tearblaster will tear the generator off the limb that carries it. If a Tearblast Arrow explodes directly beneath the Shell-Walker’s power generator, it causes a Shock explosion that stuns the machine.
Attacks
Horizon Zero Dawn
| Name | Damage Type | Primary Damage | Secondary Damage | Trigger Range | Description |
|---|---|---|---|---|---|
| Claw Combo | Melee | 200 | - | 2m - 8m (1st)
3.5m - 12m (2nd) |
Lunges at target with gun, then with shield, then with gun |
| Multi-Claw Strike | Melee | 200 | - | 2m - 8m | Lunges at target and repeatedly strikes with gun |
| Shield Claw Strike | Melee | 200 | - | 2m - 8m | Bashes target with shield, knocking them over |
| 360 Shock | 300 | - | 0m - 12m | Charges up, then releases a radial shock blast around it | |
| Charging Shock Blast | 80 | - | 10m - 30m | Charges gun, then fires a shock blast that leaves behind lingering shock | |
| Homing Shock Blast | 140 | 30 per second for 5 seconds | 30m - 60m | Charges gun, then fires a shock blast that slowly homes towards target | |
| Shock Volley | 80 | - | 30m - 60m | Charges gun, then burst-fires three small shock blasts |
Horizon Forbidden West
| Name | Windup Time | Damage | Damage Area | Trigger Range | Description |
|---|---|---|---|---|---|
| Shield Claw Swipe | Medium | 220 Melee | - | 2m - 10m | Hops forward and swipes with its Shield Claw. |
| Multi Clap Snap | Medium | 110 Melee/hit | - | 2m - 10m | Jumps 3 times in quick succession while snapping with its Lightning Gun claw. |
| Claw Combo | Medium | 190 Melee/hit | - | 2m - 10m | Three-hit lunging combo with both claws. Stops combo if it lands a hit. |
| Advancing Electric Shot | Medium |
|
|
10m - 40m | Fires a single shock orb from Lightning Gun as it advances towards target. Orb generates a residual shock damage area on impact.
Attack disabled when Drenched, |
| Electric Shot Homing | Medium |
|
|
30m - 90m | Charges Lightning Gun and fires a shock orb that tracks target as it travels. Explodes on impact and generates a residual shock damage area.
Attack disabled when Drenched. |
| Electric Shot Volley | Medium |
|
|
30m - 90m | Uses Lightning Gun to fire 3 shock orbs in an arcing trajectory and explodes on impact, creating a residual shock damage area.
Attack disabled when Drenched. |
| 360 Electric Discharge | Medium |
|
- | 0m - 12m | Unleashes a 360o shock blast in a large area surrounding its body.
Attack disabled when Drenched. |
Components
Horizon Zero Dawn
| Image | Component | Information | Weakness | Strength |
|
Body | Hard outer casing to protect synthetic muscle and operational systems. | None | |
|
Crate Holders | Destroying this component will detach the cargo container. | All | None |
|
Lightning Gun | Destroying this component disables the ranged Shock attacks. | None | |
|
Power Generator | Destroying this component disables the ranged Shock attacks. | All | None |
|
Shield Claw | Destroying this component disables the energy shield. | None |
Horizon Forbidden West
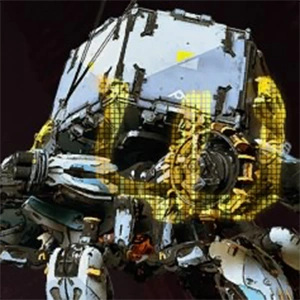
| Image | Name | Description | Attributes |
|---|---|---|---|
| Body | Hard outer casing to protect synthetic muscle and operational systems. | None | |
| Lightning Gun | Detach or destroy this powerful weapon to disable ranged Shock attacks. |
| |
| Antenna | Signal transmitter used to call in machine reinforcements. |
| |
| Power Generator | Reinforced power source. Destroy to disable Shock attacks and the shield or leave intact to add loot to the carcass. |
| |
| Shield Claw | Generates a large, defensive energy barrier. Break the shield temporarily by damaging it or detach the Claw to permanently disable. |
| |
| Cargo Holders | Sturdy cargo clamps. Detach or destroy to collect resources from the cargo container. |
|
Loot
Horizon Zero Dawn
Horizon Forbidden West
Body
- Sparker (100%)
- Metal Shards (100%)
- Crystal Braiding (100%)
- Sturdy Hardplate (69%)
- Machine Muscle (30%)
- Medium Machine Core (27%)
- Shell-Walker Circulator (27%)
- Braided Wire (20%)
- Shell-Walker Primary Nerve (18%)
- Metal Bone (10%)
Lightning Gun
- Shell-Walker Lightning Gun (100%)
Antenna
- Braided Wire (67%)
- Sturdy Hardplate (34%)
- Shell-Walker Primary Nerve (11%)
Power Generator
- Sparker (100%)
- Crystal Braiding (10%)
Shield Claw
- Braided Wire (67%)
- Crystal Braiding (51%)
- Sturdy Hardplate (34%)
Cargo Holders
- None
Body
- Crystal Braiding (100%)
- Sparker (100%)
- Metal Shards (100%)
- Sturdy Hardplate (69%)
- Apex Shell-Walker Heart (53%)
- Volatile Sludge (50%)
- Machine Muscle (31%)
- Medium Machine Core (27%)
- Shell-Walker Circulator (27%)
- Braided Wire (20%)
- Shell-Walker Primary Nerve (18%)
- Metal Bone (10%)
Lightning Gun
- Shell-Walker Lightning Gun (100%)
Antenna
- Braided Wire (67%)
- Sturdy Hardplate (34%)
- Shell-Walker Primary Nerve (10%)
Power Generator
- Sparker (100%)
- Crystal Braiding (10%)
Shield Claw
- Braided Wire (68%)
- Crystal Braiding (51%)
- Sturdy Hardplate (33%)
Cargo Holders
- None
Convoys
Horizon Zero Dawn
")
")
")
")
")
")
")
")
")
Gallery
Trivia
- During development, Shell-Walkers were originally named Scuttlers. The original name can still be seen in the description for the Carja Ropecaster Tutorial.
- If a Shell-Walker were to lose its Shield Claw, Lightning Gun and Power Generator, it will be unable to harm Aloy. Despite this, it will still attempt to attack her.
- The Shell-Walker is the only known HEPHAESTUS machine to be based on an invertebrate life form, appearing to resemble a crustacean.
- If a Shell-Walker's crate holders are destroyed, it will attempt to hold the crate with its claw, unless that too is destroyed. The way it grabs the crate implies that the claw can also manipulate gravity to some extent, or the crate and the claw have a specific magnetism. The gravity manipulation theory is reinforced by the fact that when a Shell-Walker uses its 360 attack, nearby objects are lifted upwards.
- If the Shell-Walker's crate is destroyed, nothing can be recovered from it. Using melee attacks on it with the crate on top will almost certainly destroy it.
- Shell-Walkers are the only known machine with a hyphenated name.
References
| Machines | ||
|---|---|---|
| Acquisition Class | ||
| Chariot | ||
| Combat Class | ||
| Communications Class | ||
| Recon Class | ||
| Transport Class | ||
| Unknown Class | Bloodbeak - | |
| Variants | Apex Machine - Corrupted Machine - Daemonic Machine | |